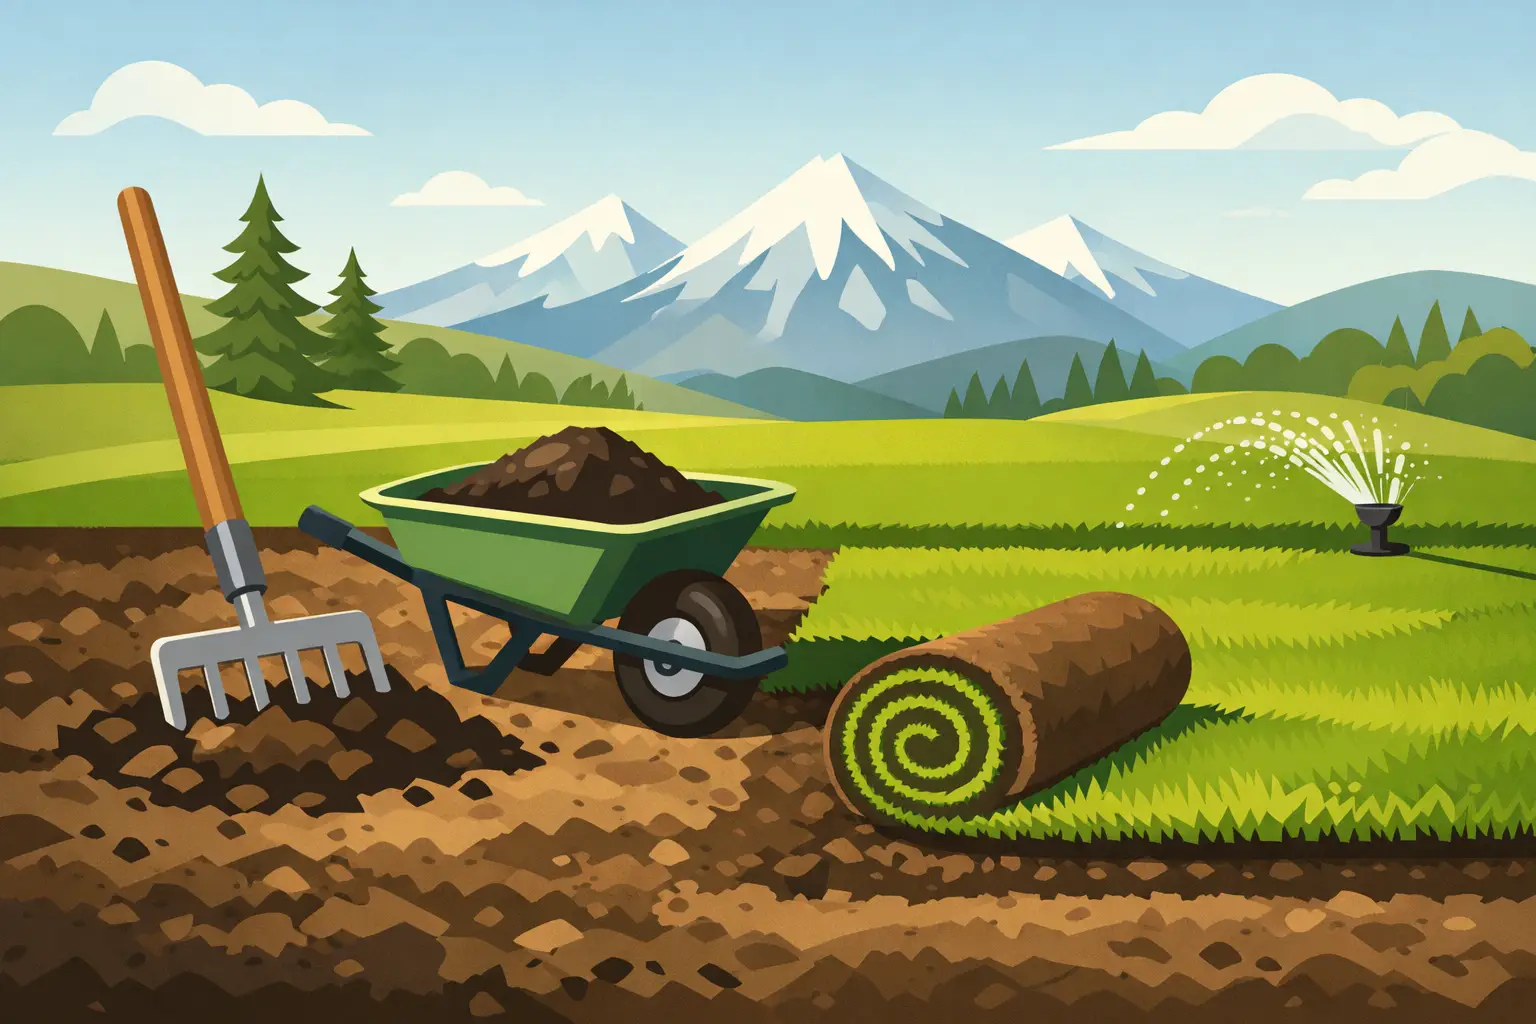
How to Prepare Soil for Sod in Central Oregon
New sod can look perfect on delivery day and struggle a few weeks later if the soil underneath was rushed. In Central Oregon, that happens fast. Dry air, sandy native soil, rocky ground, and uneven irrigation can turn a promising lawn install into a patchy, thirsty headache. If you’re wondering how to prepare soil for sod, the real job starts before the first roll is unstacked.
Good soil prep does two things at once. It helps sod root quickly, and it makes the lawn easier to water and maintain through our High Desert summers. That matters whether you’re a homeowner putting in a backyard or a contractor trying to give a client a lawn that holds up after the install crew leaves.
Why soil prep matters more in Central Oregon
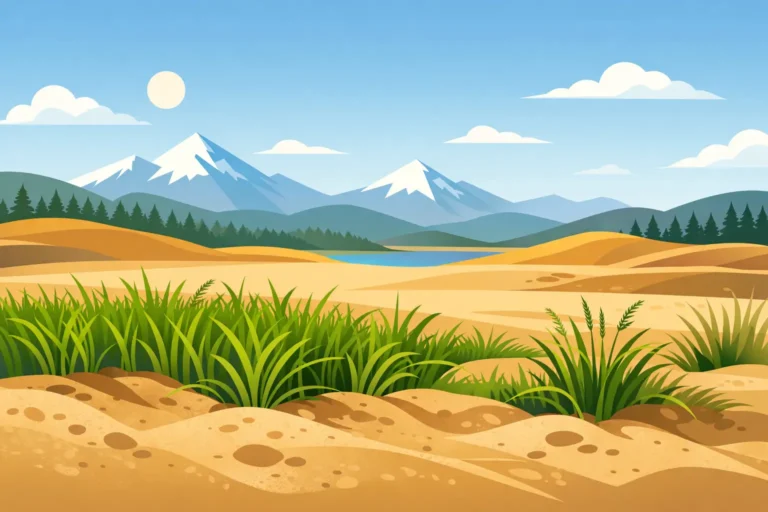
In milder climates, sod can sometimes get by on average prep. Central Oregon is less forgiving. Native soils here often drain too quickly, contain a lot of coarse material, and can be low in organic matter. That means water moves through fast, nutrients do not stick around as long, and new roots have to work harder.
There is also the issue of compaction. New construction sites are especially tough. Heavy equipment compresses the soil, then builders scrape away whatever topsoil was there. What is left can be a hard, uneven base that sheds water in some spots and dries out in others. If sod is laid over that, rooting is slower and the lawn often ends up inconsistent from one area to the next.
The goal is not to create perfect garden soil. Turfgrass needs a firm, well-drained base. But it does need enough organic matter, enough looseness in the upper layer, and a smooth final grade so roots can knit into the ground quickly.
How to prepare soil for sod step by step
The best sod installations start with a clean site, tested soil, and a clear plan for irrigation. Skipping any one of those can cost you time, water, and replacement work later.
Clear the area completely
Start by removing the old lawn, weeds, roots, rocks, and construction debris. If you are replacing an existing lawn, cut out the old turf rather than tilling it into the soil. Buried grass can decompose unevenly and create soft spots under the new sod.
This is also the time to deal with perennial weeds. If quackgrass, bindweed, or other persistent weeds are present, address them before grading and amending. Sod is not a fix for a weedy base. Once the sod is down, those problems are harder to correct without damaging the lawn.
Test the soil before adding amendments
A soil test removes guesswork. In Central Oregon, people often assume every lawn needs the same fix, but that is not always true. Some sites need organic matter. Others need pH adjustment. Some are low in phosphorus for rooting, while others already have enough.
A basic soil test can tell you pH, organic matter level, and major nutrient needs. That helps you avoid overapplying fertilizer or adding amendments that do not solve the real problem. It is a better approach for the lawn and a better approach for the environment.
Loosen the top 4 to 6 inches
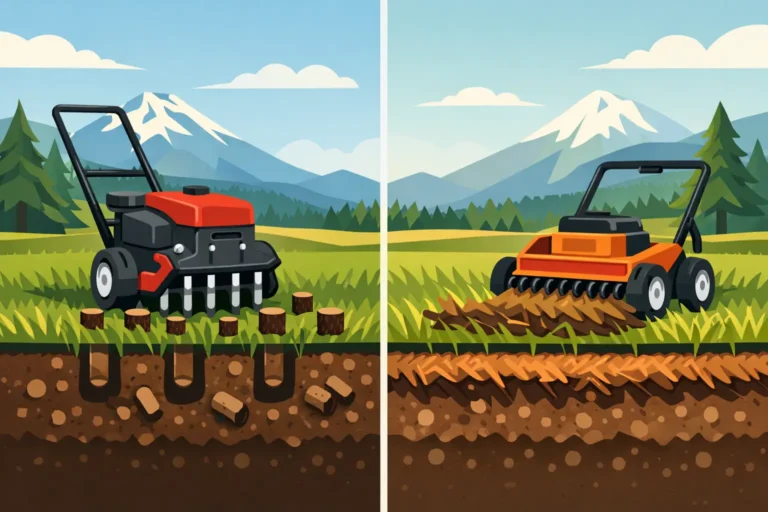
Once the site is clean, loosen the top layer of soil. For most sod projects, 4 to 6 inches is enough. A tiller works well on open areas, while compacted or heavily disturbed sites may need more effort to break up the surface.
The point is not to pulverize the soil into dust. Overworked soil can settle too much after irrigation. You want a loosened upper layer that allows root penetration and amendment blending, while still keeping enough structure to hold grade.
If the site is severely compacted from construction traffic, deeper cultivation may be worth it. That depends on the subsoil and whether drainage problems are present. On some lots, a shallow prep is not enough because the compaction layer sits just below the surface.
Add compost and the right soil amendments
For many Central Oregon lawns, compost is the most useful amendment before sod. It improves water holding capacity in sandy soils, supports better microbial activity, and helps create a more forgiving root zone during establishment.
A typical approach is to spread 1 to 2 inches of quality compost and blend it into the top 4 to 6 inches. More is not always better. Too much organic material can create settling problems or an overly soft layer. The finished soil should feel workable and crumbly, not spongy.
This is also when you would apply any recommended pre-plant fertilizer or targeted amendment based on your soil test. If phosphorus is needed for root development, incorporate it before final grading. If pH is off, address that now rather than after the sod is down.
What you should not do is rely on generic topsoil without knowing what is in it. Imported soil can vary a lot. Some blends are too sandy, some are heavy, and some contain weed seed. If you are bringing in material, quality matters.
Grade for drainage and a smooth finish
After amending, shape the area so water moves away from the house and does not collect in low spots. The final grade should be smooth, even, and slightly below sidewalks, patios, and driveways so the sod sits flush after installation.
This step gets overlooked because it is not as visible as the sod itself, but it affects everything that follows. Uneven grading creates wet pockets, dry ridges, mower scalping, and irrigation waste. A lawn that looks bumpy on day one will usually look bumpier a year later.
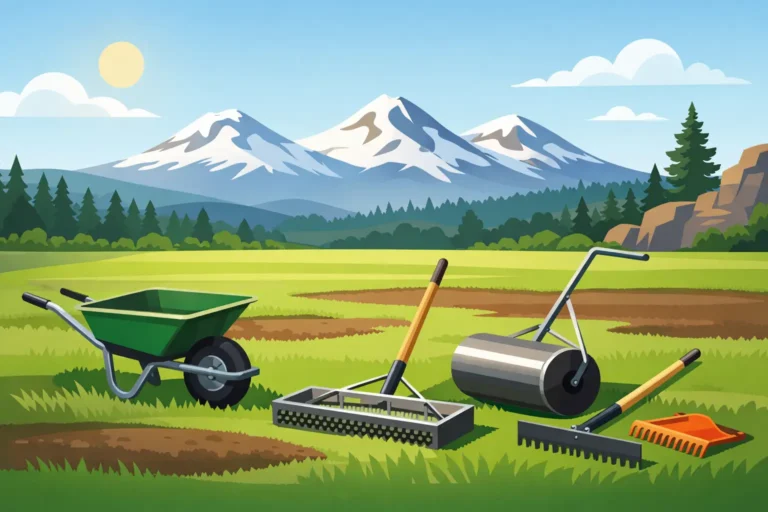
Use a rake to remove rocks and refine the surface. Then lightly firm the soil with irrigation or a lawn roller partly filled with water. You want the soil settled enough that footprints are shallow, not deep. If your shoes sink in, the base is too loose.
Check irrigation before the sod arrives
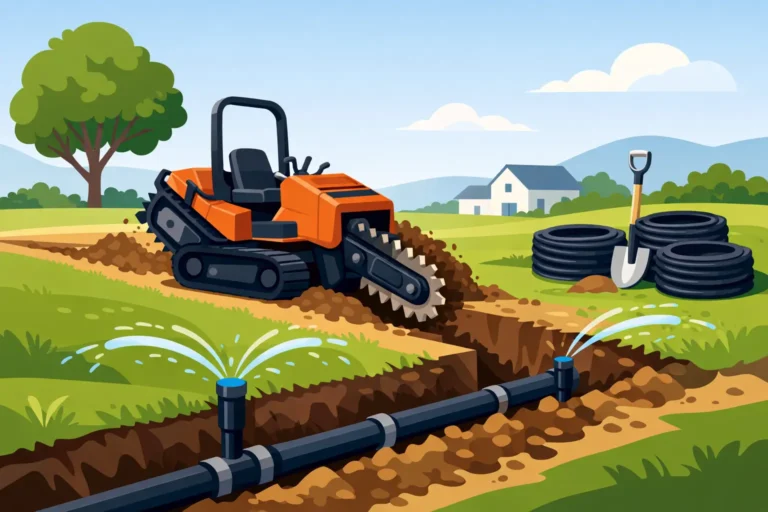
Do not wait until the sod is down to test your sprinklers. Run every zone ahead of time and make sure coverage is even, heads are adjusted correctly, and dry corners are addressed. New sod has very little margin for irrigation mistakes.
This is especially important in Central Oregon, where low humidity and summer heat pull moisture out fast. A head that misses one strip along the edge may not seem like much, but new sod can decline quickly in those areas. Uniform coverage matters more than heavy coverage.
If you are trenching for a new system or making repairs, finish that work before final grading. Once the surface is smooth and ready, you do not want to reopen the soil.
How the finished soil should feel before laying sod
Right before installation, the soil should be moist but not muddy. If it is bone dry, it will pull moisture away from the sod. If it is saturated, the sod can shift, and the surface will rut under foot traffic.
A well-prepared base is smooth, lightly firm, free of debris, and easy to walk across without sinking. It should not be powdery, cloddy, or full of unblended compost. When sod is laid over a surface like that, root contact is much better, and establishment is faster.
Common mistakes when preparing soil for sod
The most common mistake is laying sod directly over hard, scraped ground. It may green up at first because the sod was well watered at the farm, but the roots often stall once they try to move into the native soil.
Another frequent issue is using too little amendment on very sandy sites, then trying to fix the lawn later with more water. That usually leads to a lawn that survives, but needs constant irrigation. Better soil prep gives you a better water profile from the start.
Some people also over-till and leave the soil too fluffy. That seems harmless, but the lawn can settle unevenly after watering, creating dips and a rough surface. Firming the grade before installation helps prevent that.
And then there is timing. Sod should go down as soon as possible after delivery. If prep is not complete and the pallets sit too long, quality drops fast in summer conditions.
A practical note for homeowners and contractors
If this is a small backyard with decent soil, a rake, tiller, compost, and careful grading may be enough. If it is a new build, compacted lot, or large renovation, renting the right equipment can save a lot of labor and produce a more consistent result. In Central Oregon, matching the soil prep method to the site is usually what separates a lawn that establishes evenly from one that struggles in sections.
That is also where local guidance helps. At Central Oregon Lawn Center, we spend a lot of time helping people sort out whether they need compost, fertilizer, topsoil, irrigation adjustments, or heavier prep equipment before sod goes down. The answer depends on the property, not a one-size-fits-all recipe.
When you prepare the soil well, sod is not just a fast cosmetic fix. It becomes a lawn with a stronger root system, better drought tolerance, and a better chance of staying healthy through the season. Put the work under the grass first, and the lawn above it has a much better shot at lasting.