What Causes Lawn Sprinkler Leaks? 8 Local Clues
A soft, soggy patch beside an otherwise thirsty lawn is more than an annoyance in Central Oregon. It can mean water is moving below the surface instead of reaching your turf roots. Understanding what causes lawn sprinkler leaks helps you protect a limited water resource, avoid surprise utility costs, and prevent the soil erosion and turf decline that can follow.
Not every wet spot is a leak. A low area may collect runoff, and a sprinkler zone can drain downhill for a few minutes after it shuts off. But standing water that returns, a valve box that stays full, unusually green strips of grass, or a zone that loses pressure all deserve a closer look. In Bend and surrounding High Desert communities, freeze-thaw cycles, sandy soils, and irrigation systems that run hard through a short growing season create a distinct set of trouble spots.
What Causes Lawn Sprinkler Leaks in Central Oregon?
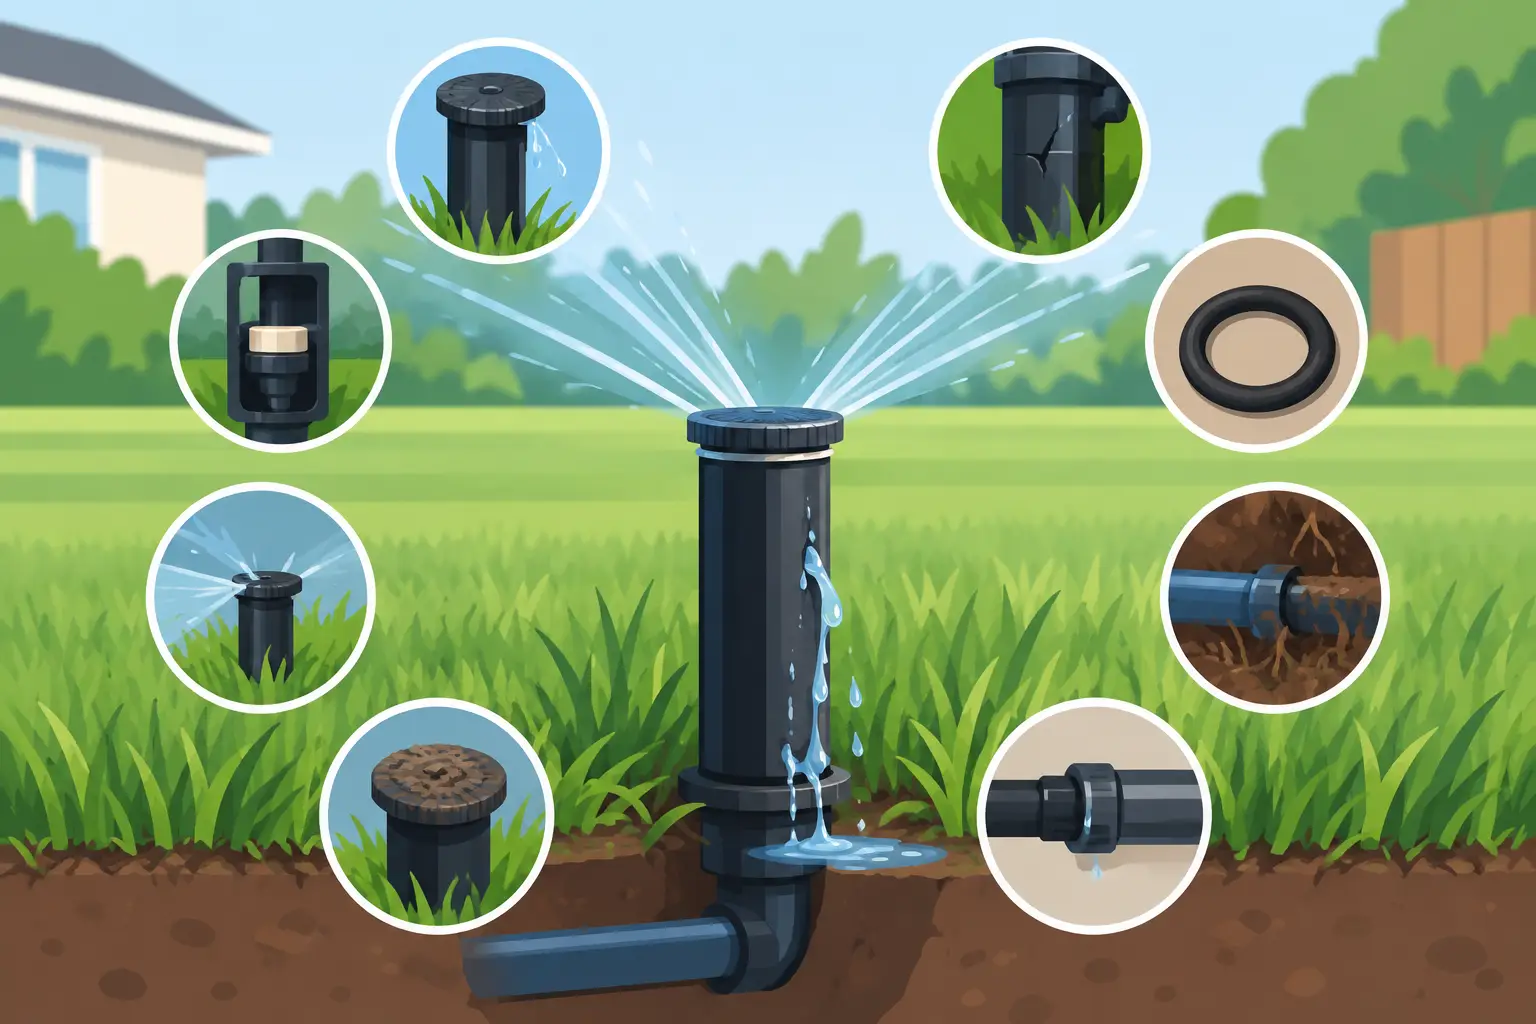
Most sprinkler leaks begin at a connection, a moving valve part, or a section of pipe that has shifted or cracked. The location and timing of the water are the best clues to the cause.
Cracked pipe from freezing or ground movement
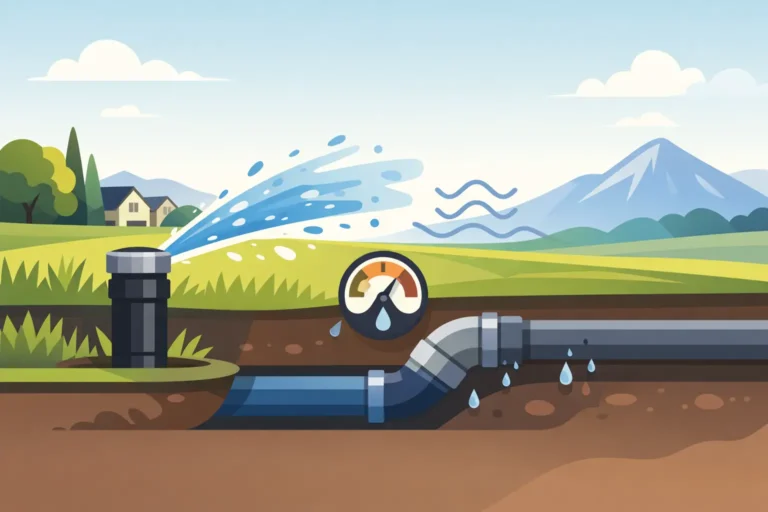
Buried PVC and poly pipe can crack when water is left in the system over winter. Even a well-winterized system can develop problems if a low spot holds water, a fitting was not fully drained, or an early cold snap arrives before blowout. Cracks may also appear where soil settles, landscape work disturbs a line, or a vehicle repeatedly crosses a shallow pipe run.
Sandy or rocky soil common around Central Oregon can make this harder to spot. Water may drain quickly rather than pooling on top, leaving a broad area of greener grass or a soft spot as the only visible sign. A broken lateral line often causes weak spray from every head on one zone, especially if the leak is substantial.
Loose, damaged, or poorly sealed fittings
Elbows, tees, threaded risers, and couplings are natural stress points. A fitting can loosen over time as pipe expands and contracts with temperature changes. Threaded connections may leak if they were cross-threaded, overtightened, or sealed with the wrong material during a prior repair.
Leaks at fittings are often easiest to identify because they occur near sprinkler heads, valve boxes, or transitions between pipe types. If water appears only when a particular zone is running, turn that zone on and carefully inspect visible connections first. Avoid digging aggressively until you know where the water is coming from. A small hand trowel and patient probing can save a pipe from additional damage.
Broken sprinkler heads and risers
Sprinkler heads take a lot of abuse. Mowers, edging equipment, kids, pets, frost heave, and settling soil can crack a head body or snap the riser beneath it. A damaged head may gush at ground level, lean to one side, fail to pop up, or throw water onto pavement instead of turf.
A head set too high is vulnerable to mower damage. One set too low can become buried by soil or thatch, which interferes with spray patterns and can trap moisture around the connection. Replace a broken head with one that matches the nozzle type, precipitation rate, and spray arc used on that zone. Mixing mismatched heads creates uneven watering and often leads people to run the system longer than the lawn needs.
Valve leaks that continue after the zone shuts off
If water keeps flowing from a sprinkler head long after its scheduled cycle ends, the zone valve may not be closing fully. Debris inside the valve, a torn diaphragm, a worn seal, or a damaged solenoid can allow water to pass even when the controller says the zone is off.
This is different from normal downhill drainage. Drainage usually slows and stops within several minutes, and it occurs at the lowest head on a zone. A valve problem may produce a steady trickle for hours, leave a valve box wet, or create persistent pooling around one head. Since a leaking valve can quietly waste a significant amount of water, it is worth addressing promptly.
Backflow preventer or above-ground supply leaks
The backflow assembly, shutoff valves, pressure regulator, and exposed supply piping are common sources of visible leaks. Look for drips at unions, spray from a fitting, mineral buildup, or moisture around the base of the assembly. In Central Oregon, exposed components are particularly vulnerable if winter protection is incomplete or fittings are stressed during seasonal startup.
Do not ignore a backflow issue because it seems small. Backflow devices protect the potable water supply from contamination. If the device itself is leaking, has a cracked body, or needs testing or repair, use a qualified irrigation or plumbing professional who can work on that component properly.
Roots, rodents, and accidental digging
Tree and shrub roots can press against pipe joints or shift shallow lines over time. Rodents may chew softer poly tubing, while a shovel, fence post, aerator, or edging tool can puncture an irrigation line in a moment. Leaks that appear shortly after planting, trenching, or yard work are often connected to that work.
Before renting or using renovation equipment, locate irrigation lines and mark known heads and valve boxes. Aerators, sod cutters, trenchers, and tillers are valuable tools when used correctly, but irrigation depth varies widely from yard to yard.
Excess pressure and water hammer
High water pressure can shorten the life of sprinkler heads, fittings, and valves. You may notice misting instead of defined spray, frequent head failures, or a sharp bang in the pipes when a zone starts or stops. That sudden pressure surge is known as water hammer, and it can strain weaker connections.
Pressure regulation is not a one-size-fits-all decision. The right operating pressure depends on the sprinkler type, layout, water source, and elevation changes across the property. If failures repeat after quality repairs, checking static and operating pressure can reveal the underlying issue.
Drip-line damage and hidden emitter failures
Drip irrigation leaks can be subtle. A cut line, loose connector, missing end cap, or damaged emitter may soak mulch and soil without producing an obvious spray. Conversely, a clogged emitter can make a nearby plant look drought-stressed while another part of the bed becomes overly wet from a split tube.
Inspect drip systems while they are running. Move mulch aside near connectors and ends, then watch for bubbling soil, pooling, or sections of tubing that look swollen or split. Repairing drip leaks is usually straightforward, but use compatible fittings and secure tubing so it will not pull apart when temperatures change.
How to Find the Leak Without Wasting More Water
Start by turning off the irrigation controller and observing whether water still moves through the system. If it does, the issue may be upstream of the zone valves, such as the backflow assembly, mainline, or a valve that is stuck open. If the water stops when the controller is off, run one zone at a time and walk the property while each zone operates.
Watch for four clear signs: water bubbling from soil, a head that gushes or will not rise, a consistently saturated area, and a noticeable pressure drop across the zone. Check valve boxes as well. A little dampness after rain or service is not unusual, but pooled water, a muddy valve, or constant flow points to a repair need.
If the leak is underground, shut off the affected zone rather than continuing to run it. Mark the wet area, then allow the soil surface to dry enough to narrow the search. Dig from the side of the suspected leak and expose the pipe gradually. Cutting into a pipe before you can see the fitting or crack often turns a small repair into a larger one.
Repair Decisions That Protect Your Lawn and Water Budget
A cracked head, riser, drip connector, or accessible fitting is often a reasonable DIY repair. Use parts sized for the existing system and keep replacement heads consistent with the zone design. After the repair, run the zone long enough to check for seepage and confirm the spray pattern reaches the intended turf area.
Call for professional help when you suspect a mainline break, a backflow problem, electrical valve failure, recurring pressure trouble, or a leak beneath hardscape. These repairs may require specialized tools, code knowledge, or a more complete assessment of the irrigation layout.
Also consider the condition of the lawn around the leak. Overwatered turf can develop shallow roots and weakened soil structure, while a damaged zone may leave other areas stressed. After the repair, adjust run times for the season instead of trying to compensate with extra watering. In the High Desert, deep, appropriately timed irrigation and healthy soil are far more useful than frequent shallow cycles.
Preventing the Next Sprinkler Leak
The most reliable prevention is seasonal attention. Inspect heads and valve boxes in spring, correct tilted or buried heads during the growing season, and winterize thoroughly before sustained freezing temperatures arrive. Keep mower blades and edging tools away from exposed risers, and flag irrigation components before landscape or renovation work.
It also helps to run your system with purpose. Cycle-and-soak watering can reduce runoff on compacted or sloped areas, while properly matched nozzles keep zones from being pushed beyond their design. A healthy lawn does not need water escaping into soil, sidewalks, or valve boxes to stay green.
If you are tracking down a stubborn leak or planning an irrigation repair, Central Oregon Lawn Center can help you sort through compatible irrigation supplies and practical next steps. A careful repair now protects your lawn, your water use, and the work you have put into growing durable turf in a demanding climate.