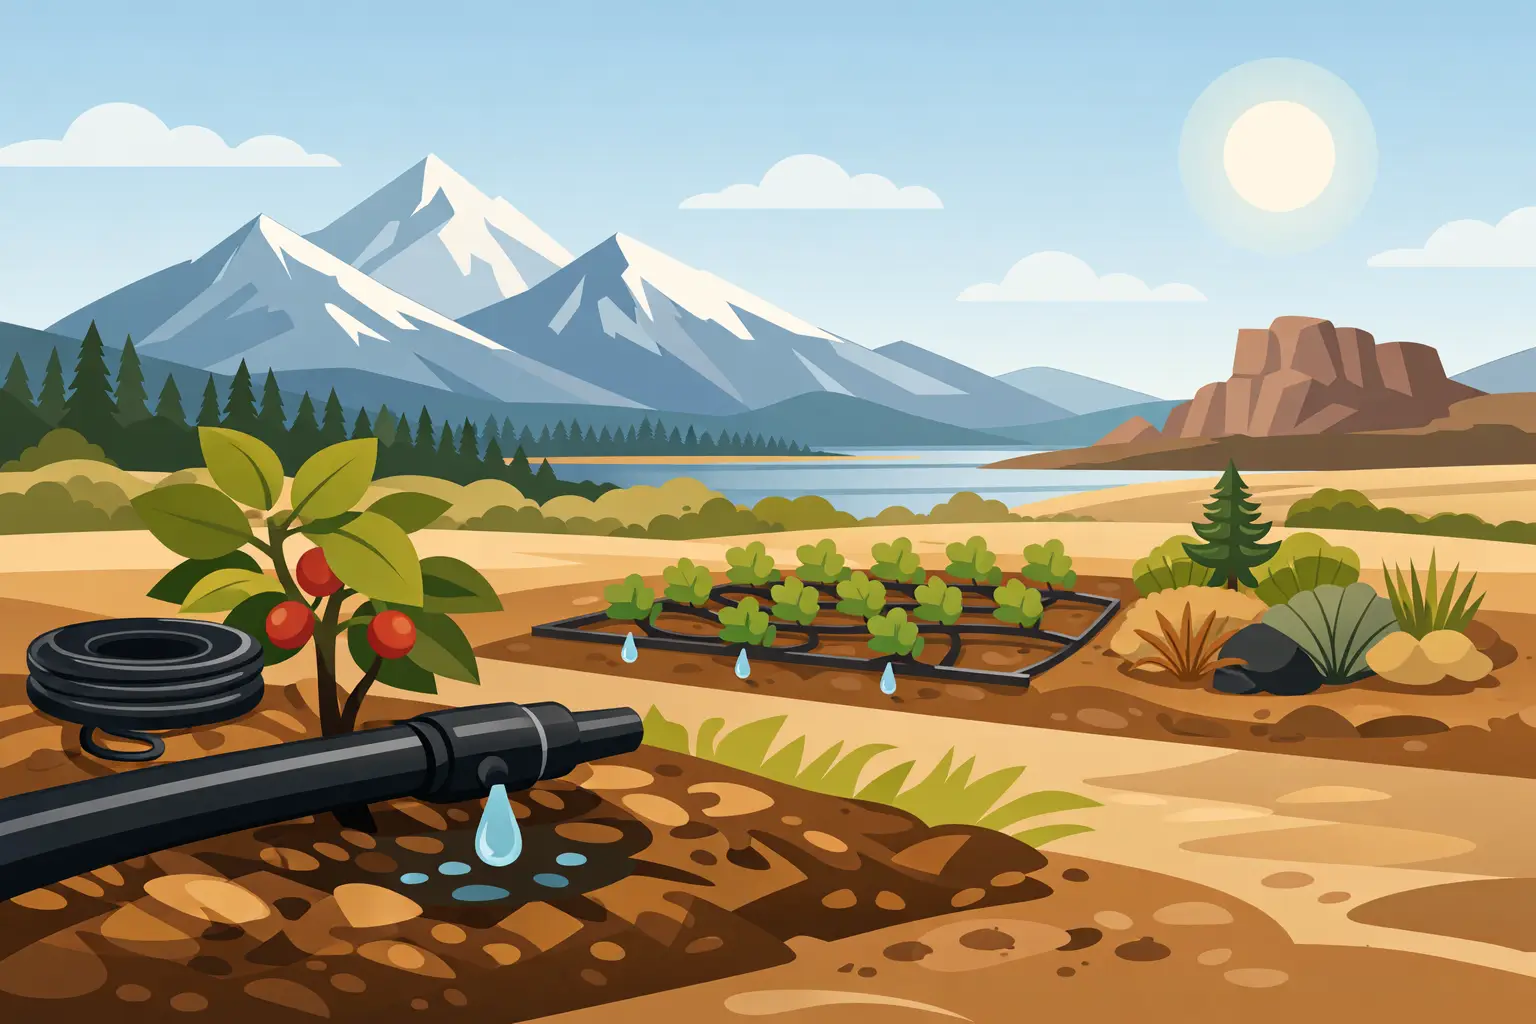
How to Install Drip Irrigation in Central Oregon
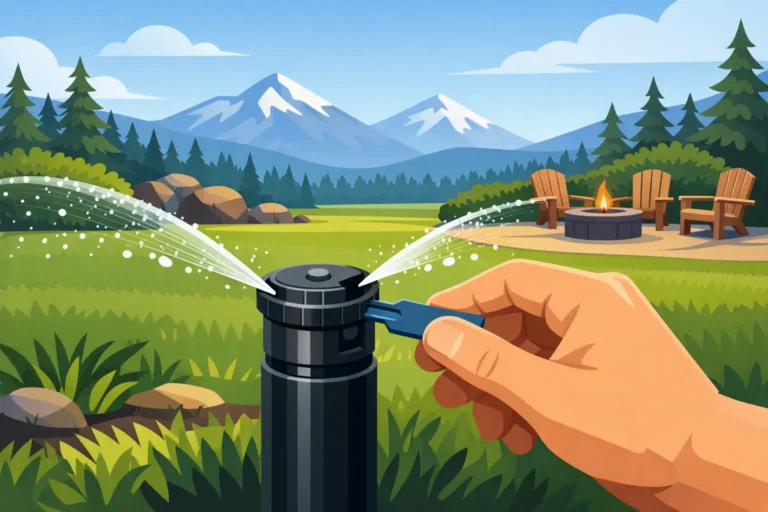
A spray head watering a shrub bed in Bend can lose a surprising amount of water to wind, evaporation, and overspray before moisture ever reaches the roots. Learning how to install drip irrigation gives you a more precise way to water trees, perennials, vegetables, and foundation plantings – especially where Central Oregon’s sandy soils drain quickly and summer water use matters.
Drip irrigation is not a one-size-fits-all system. A vegetable bed, a newly planted tree, and an established shrub border need different emitter spacing and run times. The goal is simple: apply water slowly at the root zone, then give it enough time to move into the soil without runoff.
Start With a Watering Plan
Before buying tubing, walk the property and divide the landscape into watering zones. Group plants with similar needs together. A sunny vegetable garden should not share a valve or schedule with established native shrubs that need far less supplemental water.
Measure each bed and mark the location of outdoor faucets, irrigation valves, trees, planting rows, hardscape edges, and slopes. Note where tubing must cross a path or where a line may be exposed to mower traffic. In Central Oregon, it also helps to identify spots with especially loose, rocky, or compacted soil. Water moves differently through each of them.
For most home gardens and landscape beds, 1/2-inch poly tubing makes a dependable main supply line. Dripline with factory-installed emitters works well for straight vegetable rows and evenly planted groundcover. For individual shrubs, trees, and containers, use blank distribution tubing with separate button emitters or adjustable emitters placed at each plant.
Avoid treating drip irrigation as an automatic cure for every dry lawn area. Drip is excellent for beds and individual plantings, but turf generally performs better with properly designed overhead irrigation. Lawn roots need broad, even coverage; point-source drip can create uneven growth unless the system is specifically designed for subsurface turf use.
Gather the Right Drip Irrigation Components
A basic system begins at the water source with a backflow preventer, filter, pressure regulator, and adapter for the main tubing. These pieces are not optional extras. They protect household water, keep sediment from clogging emitters, and reduce incoming water pressure to a level that drip fittings and tubing can handle.
You will also need mainline tubing, fittings, end closures, stakes, emitters or dripline, a hole punch, and a timer. If your beds are on separate schedules, plan for separate valves or timers. A battery-operated hose timer can work well for a small garden, while a larger landscape system may be better served by dedicated irrigation valves and a controller.
Choose quality fittings that match the tubing size. Inexpensive mismatched fittings are a common source of slow leaks, blown connections, and systems that work perfectly until the first hot week of July.
How to Install Drip Irrigation Step by Step
1. Prepare the water source
Turn off the faucet or irrigation supply before installing any components. Connect the backflow preventer first, followed by the filter and pressure regulator. Then attach the timer, if you are using a hose-end setup, and the adapter for the mainline tubing.
Keep the filter accessible. Central Oregon water and soil conditions can introduce fine sediment into a system over time, and a filter that cannot be cleaned easily will not get cleaned often enough.
2. Lay out the mainline before making connections
Unroll the tubing along the route you mapped. Let it sit in the sun for a few minutes if the weather is cool. Warm tubing is more flexible and easier to work with around corners and planting beds.
Run the mainline along the back or edge of a bed where possible, then branch toward plants with smaller distribution tubing. Leave a little extra length near turns and connection points. Tubing pulled tight can shift as temperatures change or when soil settles.
If the line crosses a walkway, protect it in a sleeve or route it beneath the path. Do not leave exposed tubing where it can be tripped over, cut by an edger, or damaged by wheelbarrows.
3. Add dripline or individual emitters
For vegetable gardens, place dripline parallel to planting rows. Emitter spacing depends on the crop and soil, but 12-inch spacing is a practical starting point for many closely planted vegetables in sandy ground. Widely spaced crops may be better served with individual emitters at each plant.
For shrubs and perennials, place emitters near the outer portion of the root zone rather than directly against the stem. Start small plants with one or two emitters, then add or move emitters outward as they mature. A larger established shrub may need several emitters distributed around it so water reaches a broader area of roots.
New trees need special attention. Place emitters several inches away from the trunk and spread them in a ring around the root ball. As the tree establishes, expand that ring outward. Watering against the trunk encourages shallow, poorly distributed roots and can create disease issues.
4. Secure and close the system
Use stakes to hold tubing in place, particularly around curves, slopes, and newly mulched beds. Close the end of each line with an end cap or a figure-eight closure designed for drip tubing. A removable closure makes seasonal flushing easier.
Before covering the lines with mulch, leave the ends open and run water through the system for several minutes. This flushes out dirt and plastic debris from installation. Then close the ends and inspect every fitting, emitter, and connection while the system is operating.
5. Cover tubing thoughtfully
A light layer of mulch helps protect drip tubing from sun exposure, keeps soil moisture more consistent, and makes the system less visible. Keep mulch pulled back from plant crowns and tree trunks. Do not bury emitters so deeply that soil particles can work back into them.
In vegetable gardens, leaving lines on top of the soil may be more practical because crop rows change each year. In permanent beds, a shallow layer of mulch is usually the best balance between protection and access.
Set Run Times for High Desert Soil
The best drip schedule depends on emitter flow rate, plant size, weather, shade, mulch depth, and soil texture. Sandy soils common across Central Oregon absorb water quickly but do not hold it as long as heavier soils. That often means shorter, more frequent watering for newly planted material, rather than one long weekly run.
Start by running the system, then check the soil after watering. Dig a small hole near, not directly beneath, an emitter to see how far moisture has reached. For many landscape plants, water should reach the active root zone without leaving the soil saturated. If moisture only reaches the top inch or two, increase the run time. If water is moving beyond the roots or pooling on the surface, reduce the run time or split watering into shorter cycles.
A newly planted shrub may need consistent moisture several times a week during hot, dry stretches. An established drought-tolerant plant may need much less once its roots are developed. The calendar is only a starting point. Adjust for heat, wind, rainfall, and the plant’s actual condition.
Avoid the Most Common Drip System Problems
Clogged emitters, uneven watering, and damaged tubing usually come back to a few preventable issues. Check the filter regularly, especially early in the season. Flush lines after repairs. Watch for emitters that have been buried, pinched, or pulled loose by pets, wildlife, or garden work.
Do not assume every plant is receiving water simply because the timer is running. Walk the system at least monthly during summer. Look for dry plants, wet spots, geysers at disconnected fittings, and tubing that has shifted away from the root zone.
Winterization is equally important in Central Oregon. Freezing temperatures can crack exposed components and damage irrigation lines. Shut off the supply, drain hose-end equipment, and follow the appropriate blowout procedure for permanent systems. Remove timers and store them indoors when possible.
Build a System You Can Adjust
A good drip system changes with the landscape. Plants grow, beds expand, and a sunny area can become shaded as trees mature. Leave room to add emitters, extend tubing, or separate a high-water-use garden from low-water-use ornamentals later.
If you are unsure which emitter flow rate, filter, or tubing layout fits your property, bring in a simple sketch and measurements. The team at Central Oregon Lawn Center can help match irrigation supplies to your soil, planting plan, and water-wise goals – so the system supports healthier plants without wasting a precious resource.